DIFFUSER BLENDS FOR THE HOLIDAYS
Essential Oil Diffuser Blends are a great way to enrich your senses, brighten your space, and comfort your spirit. Discover the best aromatic Essential Oils that resonate with the holidays and find ways to gift unique diffuser blends to loved ones.

DIY CHRISTMAS SOAP RECIPES
Handmade soaps make a charming and thoughtful gift during the holidays. Create holiday-inspired soaps using Melt & Pour Soap Bases and additives like essential oils, colorants, herbs, and butter, and find creative ways to wrap your handmade gifts.
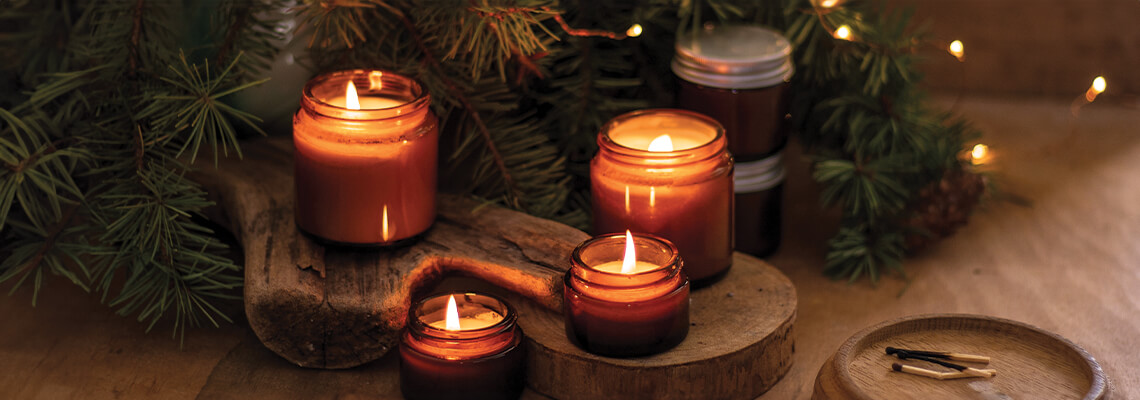
DIY CHRISTMAS CANDLE GIFT IDEAS
The holidays are the perfect time to light cozy and warm candles that are scented with the earthy, spicy, and sweet aromas of Christmas. Discover festive and aromatic candle recipes, as well as unique decorations that are sure to bedazzle any home.
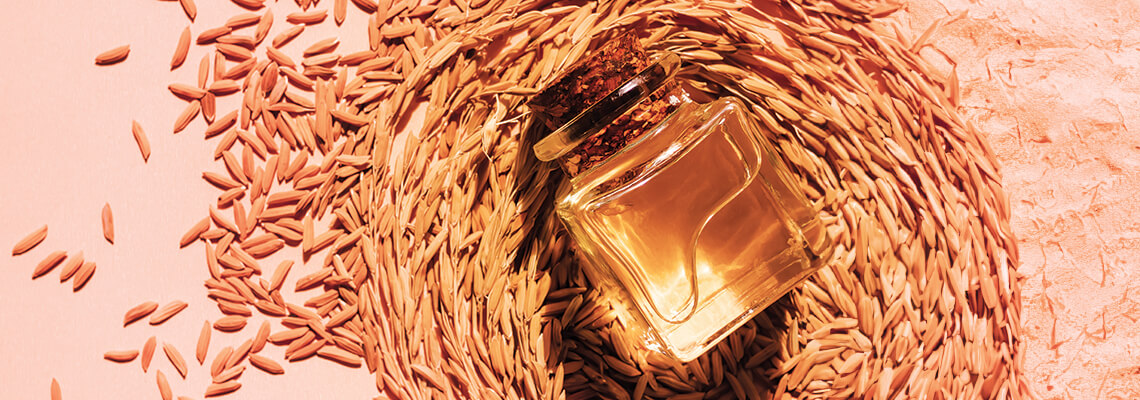
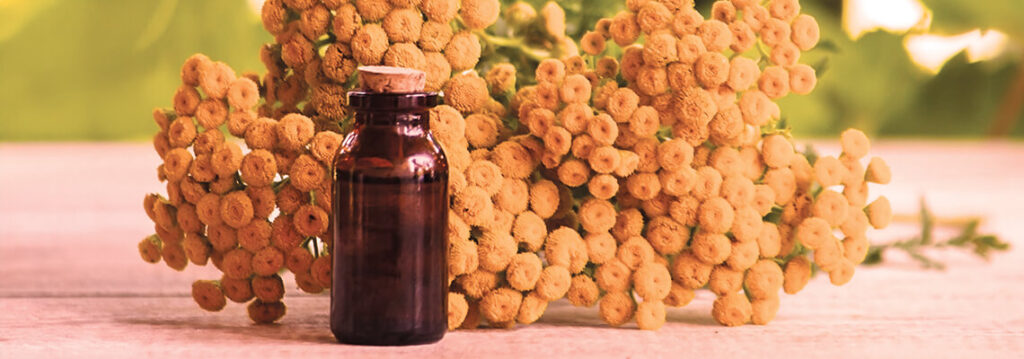
RICE BRAN OIL
Rice Bran Carrier Oil is derived from a rice grain’s Bran, a layer with high oil content. Discover the various uses of this cleansing, softening, nourishing oil that is obtained from a staple diet item for over half the world.
Trending Now

PET FRIENDLY ESSENTIAL OILS

Essential Oils for Cellulite

CARRIER OILS GUIDE

HOW ESSENTIAL OILS ARE MADE
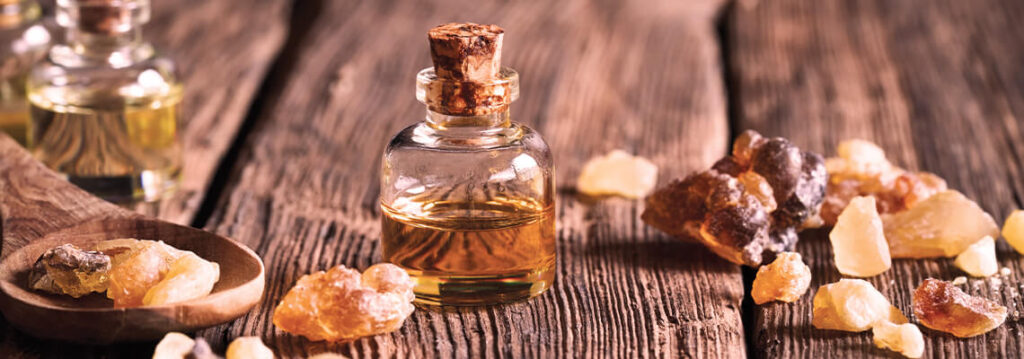
FRANKINCENSE OIL RECIPES

OILS FOR HEALTHY AND STRONG NAILS

ESSENTIAL OILS FOR FOOT CARE

ESSENTIAL OILS FOR INDOOR AIR QUALITY

MENTHOL CRYSTALS

DIY NATURAL DEODORANTS WITH ESSENTIAL OILS

BLENDING AND DILUTING ESSENTIAL OILS
NATURAL ALTERNATIVES FOR PETROLEUM JELLY
HELICHRYSUM OIL

ESSENTIAL OILS FOR SKIN
Fall Recipes

HOLIDAY SELF-CARE
ENTERTAINING WITH ESSENTIAL OILS

ENCHANTING ESSENTIAL OILS FOR VALENTINE’S DAY
TOP 10 ESSENTIAL OILS FOR THE COLD WEATHER

DIFFUSER BLENDS FOR THE HOLIDAYS

HOW TO MAKE A LOVE POTION

DIY CHRISTMAS CANDLE GIFT IDEAS

DIY CHRISTMAS SOAP RECIPES